Using the phone
The screen on the left of the page is the phone's touchscreen. Click it once to give it the keyboard: a coloured outline shows that it has the focus.
Touch
The mouse plays the part of your finger.
| You do | The phone sees |
|---|---|
| Click | A tap |
| Press, hold, release | A long press |
| Press and drag | A swipe or a scroll |
| Drag from the top edge downwards | The notification shade |
For Back and Home, use the keys below (Esc and Alt+Esc), the navigation bar when the system shows one, or the adb line.
Notes:
- The mouse wheel does not scroll: drag with the mouse instead, as you would with a finger.
- A mouse has one pointer, so two-finger gestures such as pinch to zoom are not possible yet.
- A touchscreen or a pen on your computer works too: each finger becomes a touch on the phone (up to ten).
Keyboard
When the screen has the focus, the keys go to the phone as if a USB keyboard were plugged in. The phone uses its own keyboard layout (US English by default), so it reads the position of each key, not the character your computer's layout prints on it.
Useful keys:
| Key | Effect |
|---|---|
| Esc | Back |
| Alt+Esc | Home |
| Arrows, Tab, Enter | Move between fields and buttons, confirm |
| Volume keys, if your keyboard has them | Volume |
Holding a key repeats it, as on a real keyboard. The page does not pass the clipboard to the phone yet: to put text into a field, type it, or use the adb line (input text hello).
When you click outside the screen, every key still held is released, so no key stays stuck.
The power button
Power under the screen is the phone's side button:
- a short press turns the screen off, and another one turns it back on;
- a long press (hold it for a second or two) opens the power menu.
Vetro keeps the screen on while the tab is open, so you normally do not need it.
Installing an app (APK)
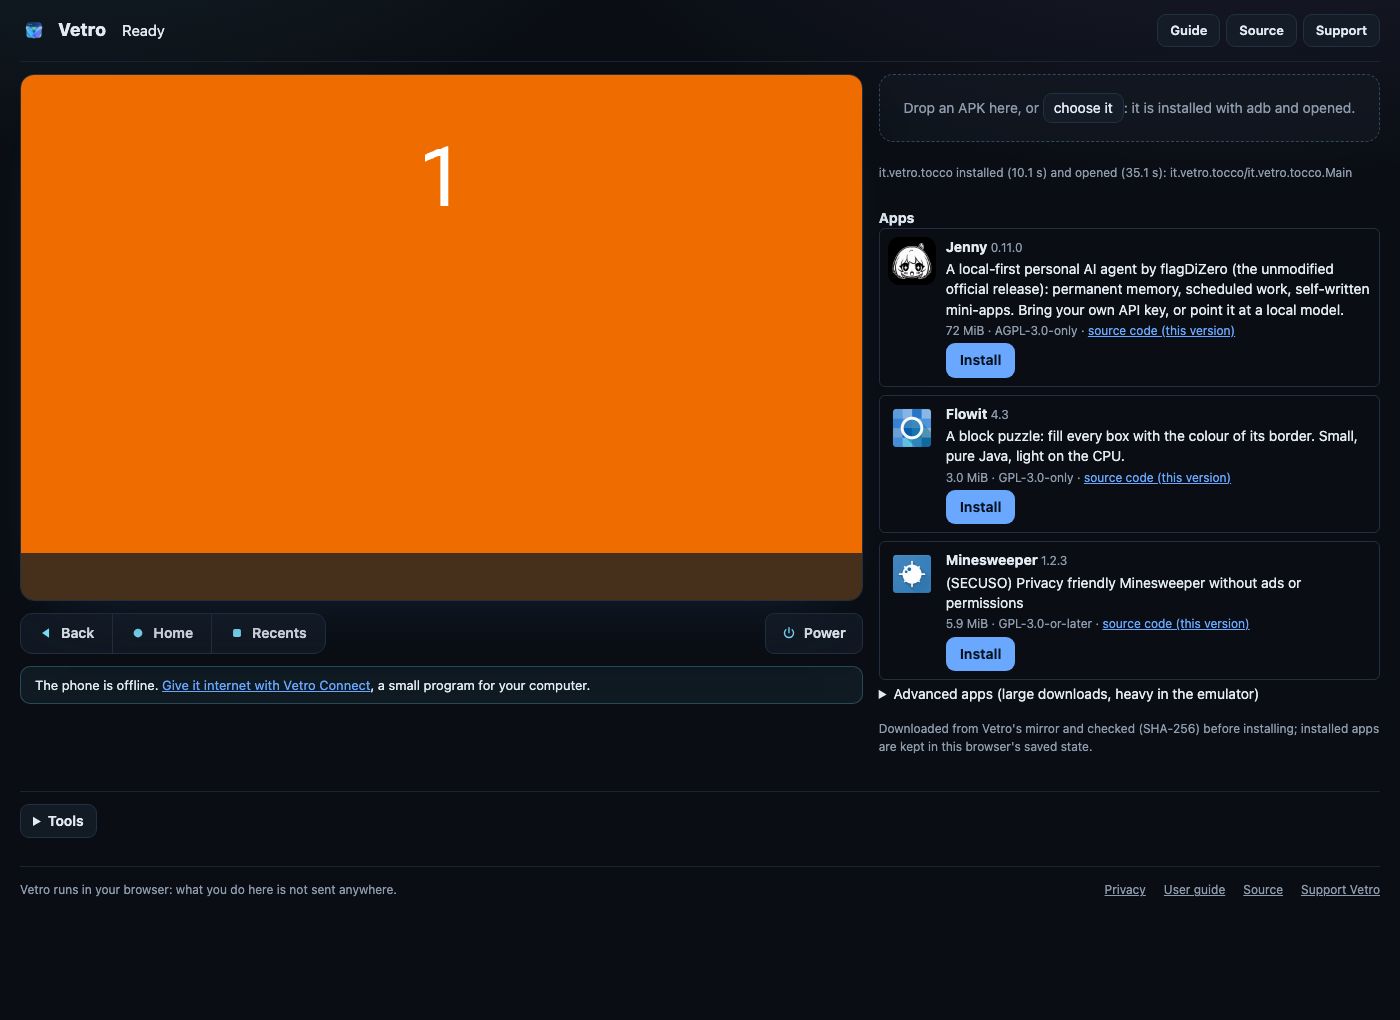
Drag an .apk file from your computer and drop it on the phone screen or on the dashed box in the Apps panel next to it. You can also click choose it and pick the file.
Vetro then:
- sends the APK to the phone and installs it (as
adb installwould); - opens the app's main screen;
- saves the machine, so the app is still there at your next visit.
The line under the drop box shows each step, and how long it took. Installing needs the adb connection, which is ready shortly after the home screen: if you drop an APK earlier, it waits for it.
Things to know:
- The phone is 64-bit only (arm64). Apps that ship only 32-bit native code (
armeabi-v7a) cannot be installed. - There is no Google Play and no Google Play Services; microG provides the basics that many apps expect. Apps that require Play Integrity will not work.
- Split APKs (App Bundles delivered as several files) are not supported by drag and drop yet: use a single, universal APK.
The adb line
Under Tools (the small toggle below the screen) there is a command line connected to the phone's adb shell. Type a command and press Run (or Enter): the output appears below it, with the exit code when it is not zero. The shell runs as the shell user; this is a development (userdebug) build, so su 0 <command> runs a command as root.
Some examples:
getprop ro.build.version.release          # the system version
pm list packages -3                       # the apps you installed
am start -n com.example/.MainActivity     # open an activity
input keyevent KEYCODE_HOME               # press Home
input text hello                          # type text into the focused field
dumpsys window | grep mCurrentFocus       # which window has the focus
settings put system screen_brightness 200 # change a setting
The line runs adb shell commands only: there is no adb push or adb pull here. To move files, use the file manager.
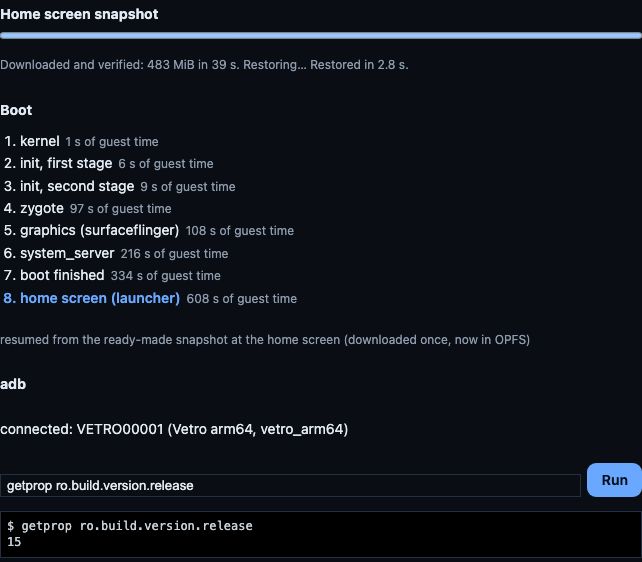
The serial console
The black box under Tools is the system's serial console. It shows the kernel and system log, and it is also a shell (as the shell user, like the adb line): click it, type a command, then Enter. The adb line is usually more convenient, because its output is not mixed with the log.